After months of cutting, folding, gluing, and problem-solving, Chitty Chitty Bang Bang is finally complete! She was already a great car—one that anyone would be proud to own—but Chitty isn’t truly Chitty Chitty Bang Bang until her wings unfold and she takes flight!
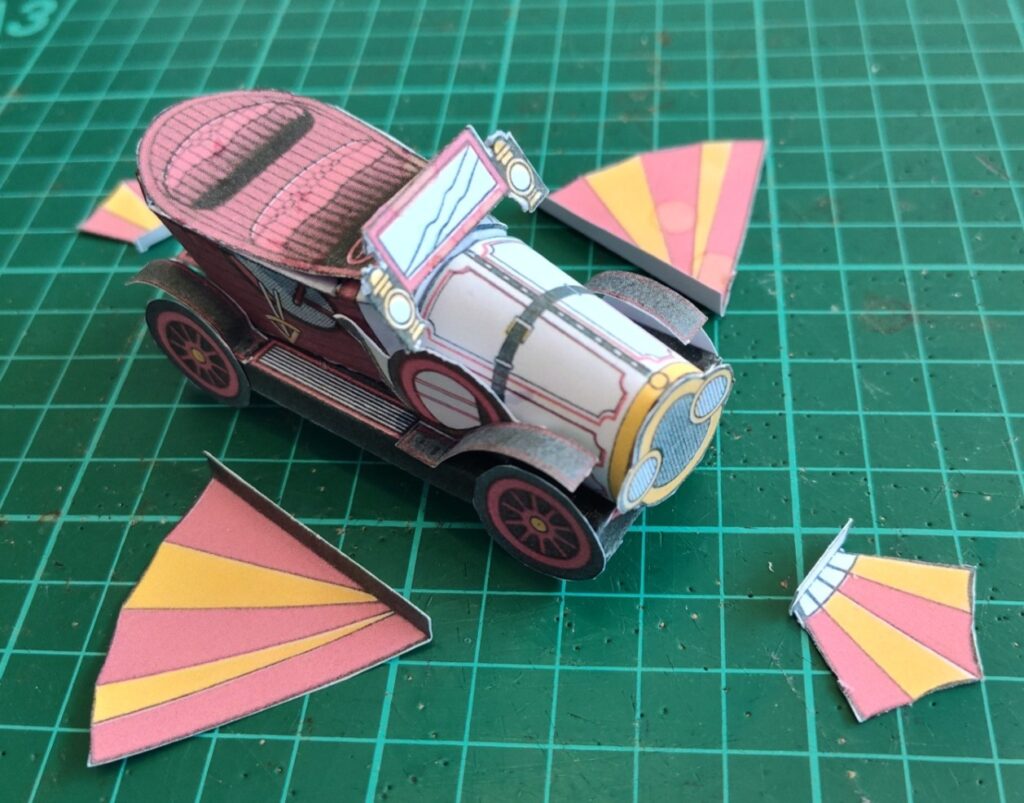
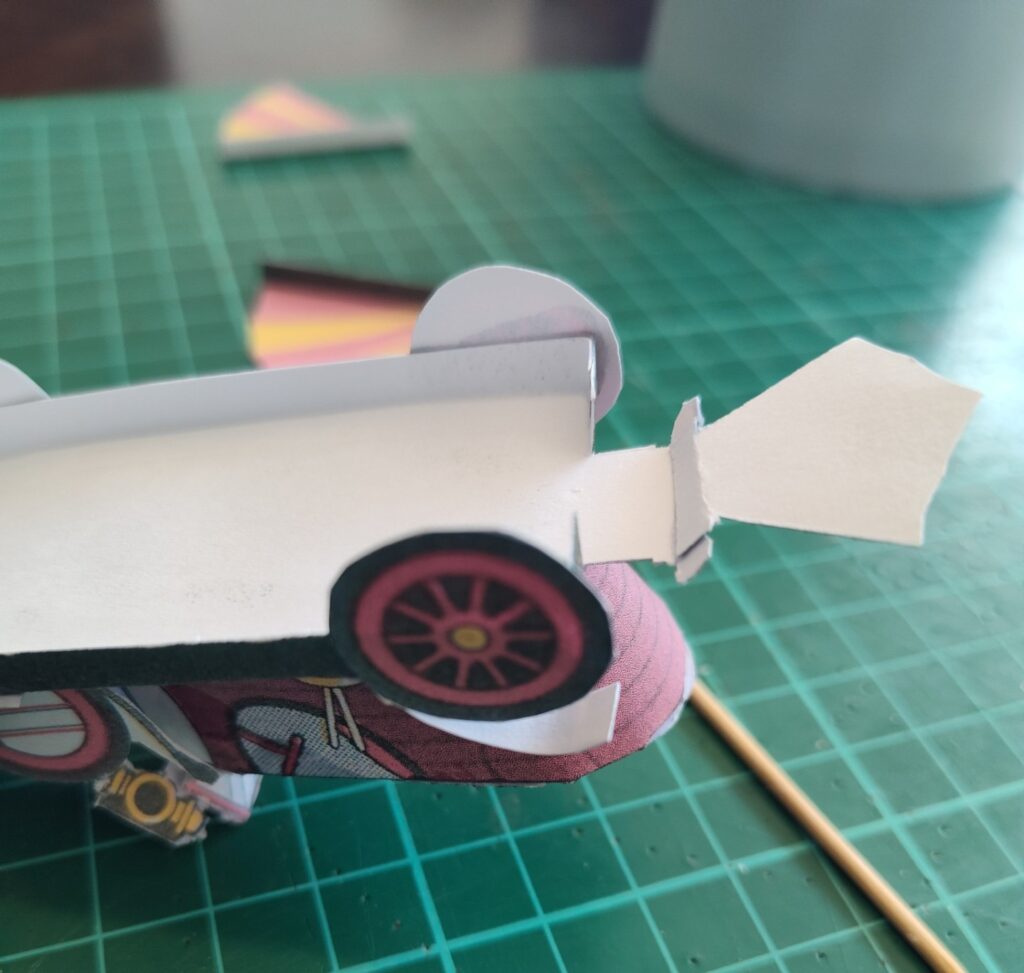
First, we had to cut out the wings. I used a knife to start, doing most of it myself, and then we switched to scissors for the tricky side parts. We folded the tabs that would attach under the running boards and licence plates, getting them ready to stick on.
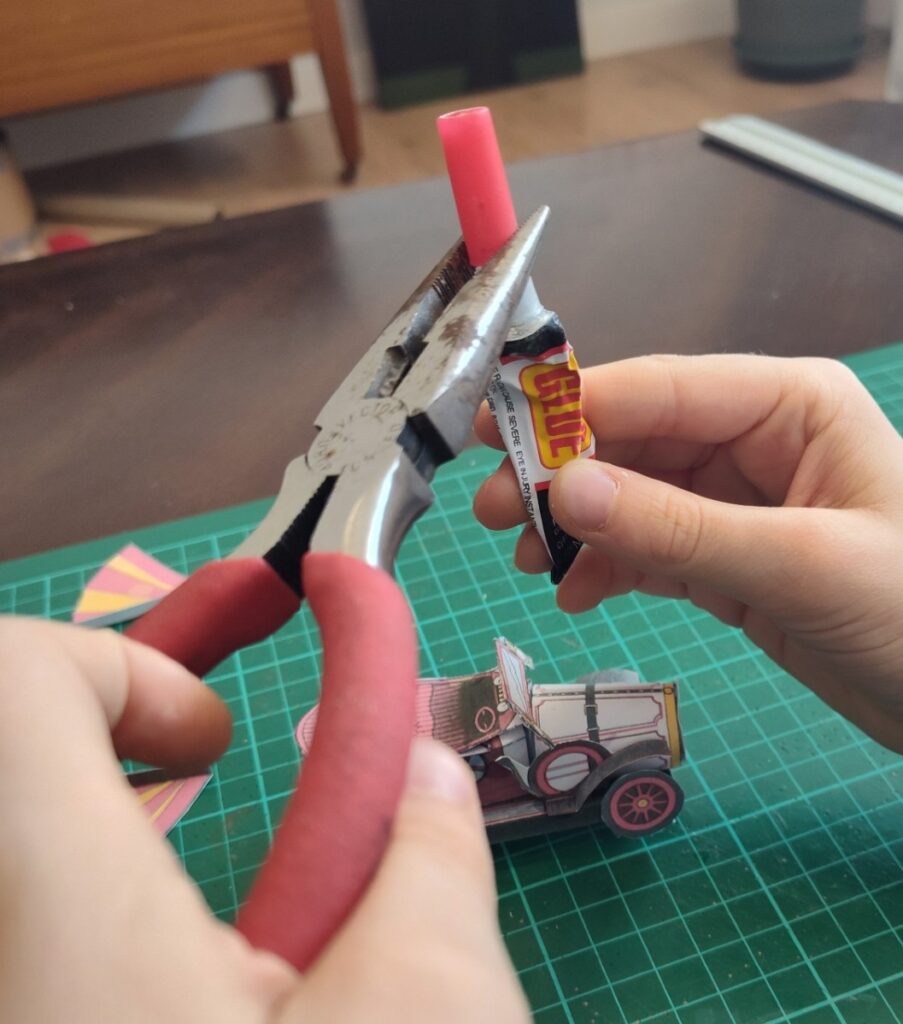
Now, here’s the thing about sticking on wings—it starts with opening the superglue… and guess what? It was stuck shut! Superglue was stuck! We had to use pliers to open it.
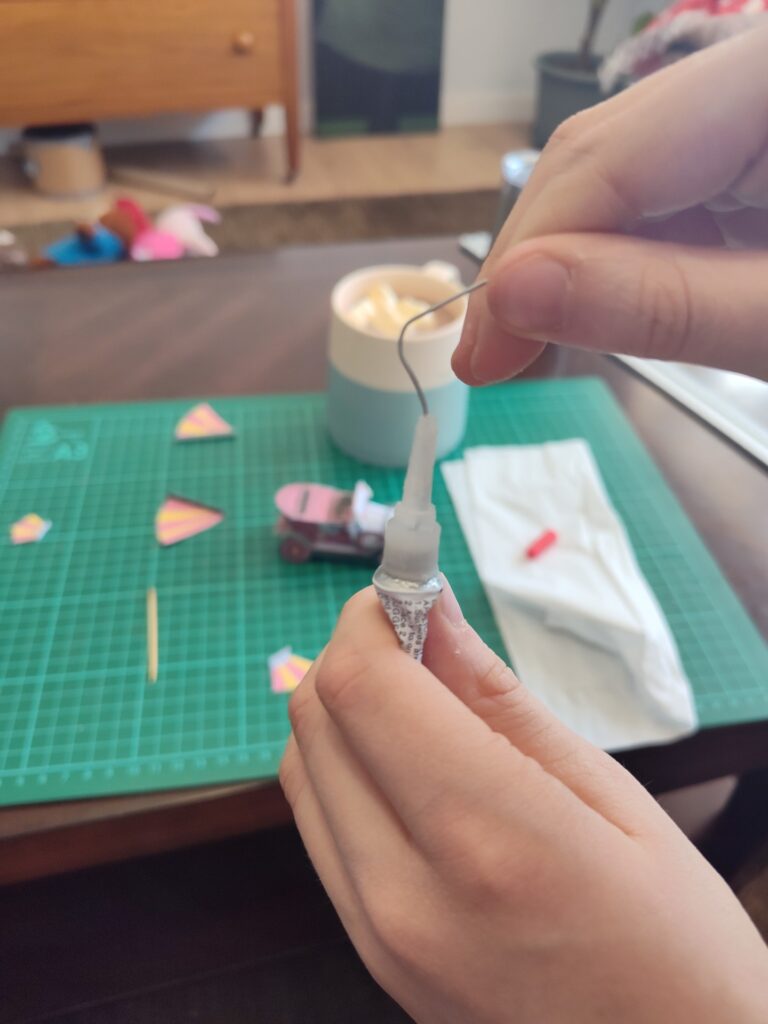
That should work, right? Nope! We got the lid off, but nothing would come out of the tube! We had to stick a bent paperclip inside to loosen the glue.
Once the glue was ready, we stuck on the wings. It was fiddly work—we had to use the toothpick method again, bending the wings slightly out of shape and keeping Chitty Chitty Bang Bang upside down until the glue set properly.
Then, it was done. Chitty Chitty Bang Bang, fully built, wings attached, ready to fly!
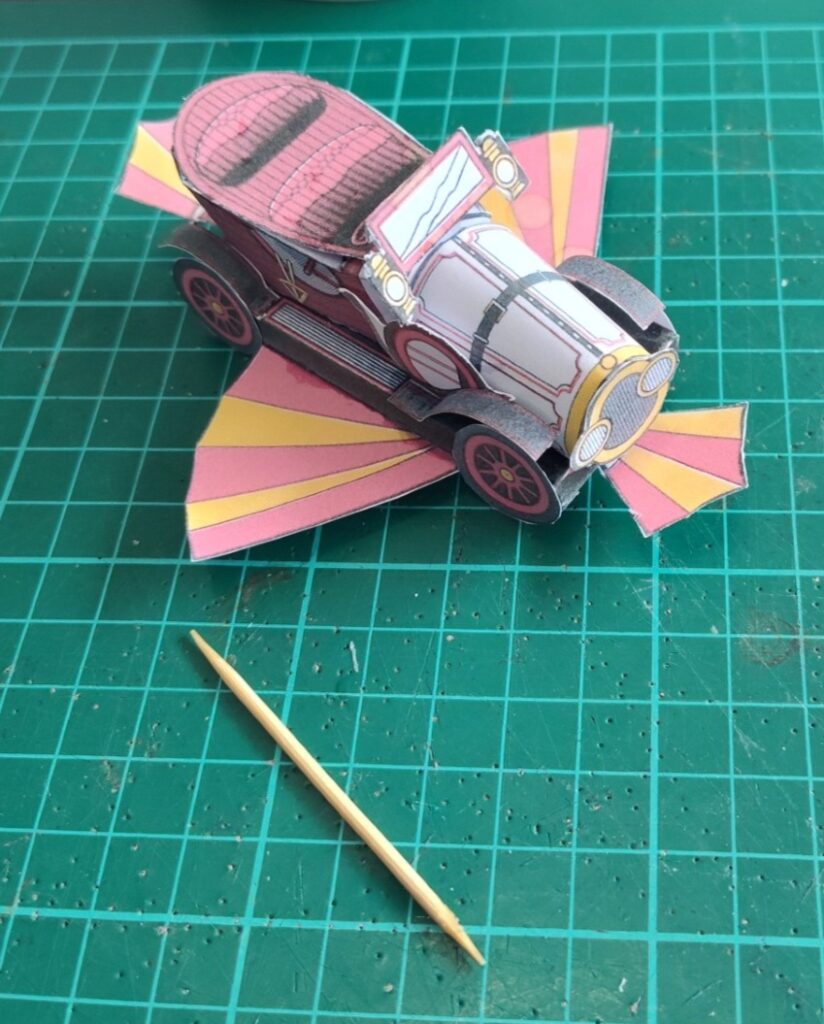
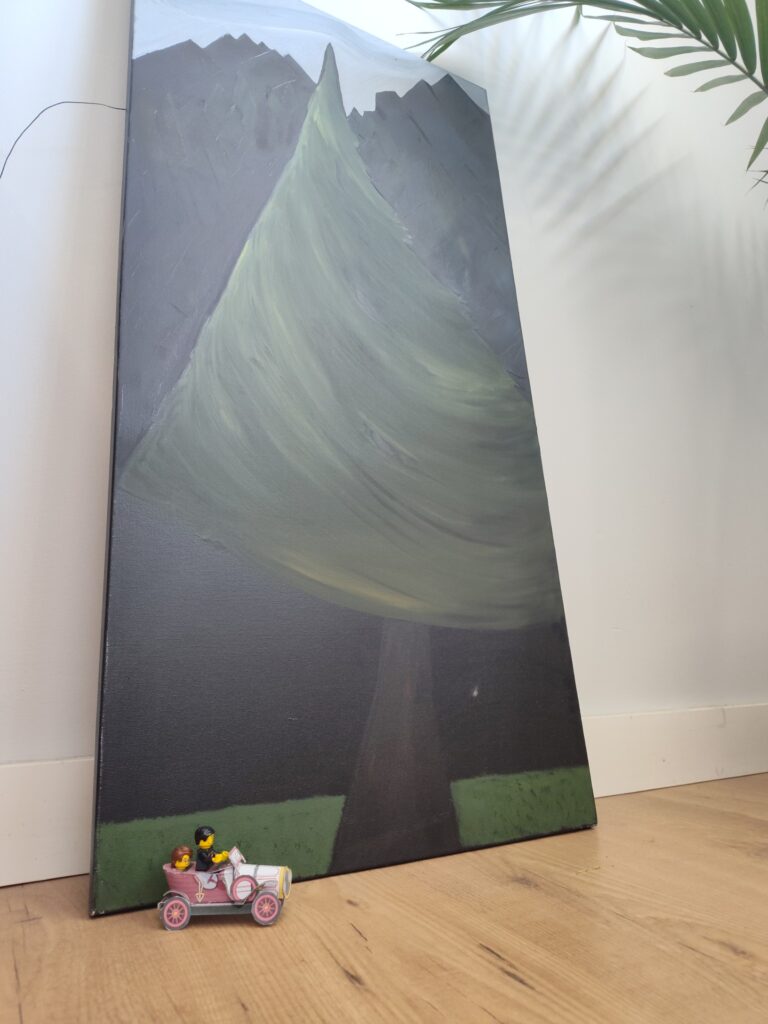
The final shot? Chitty Chitty Bang Bang soaring towards a castle.
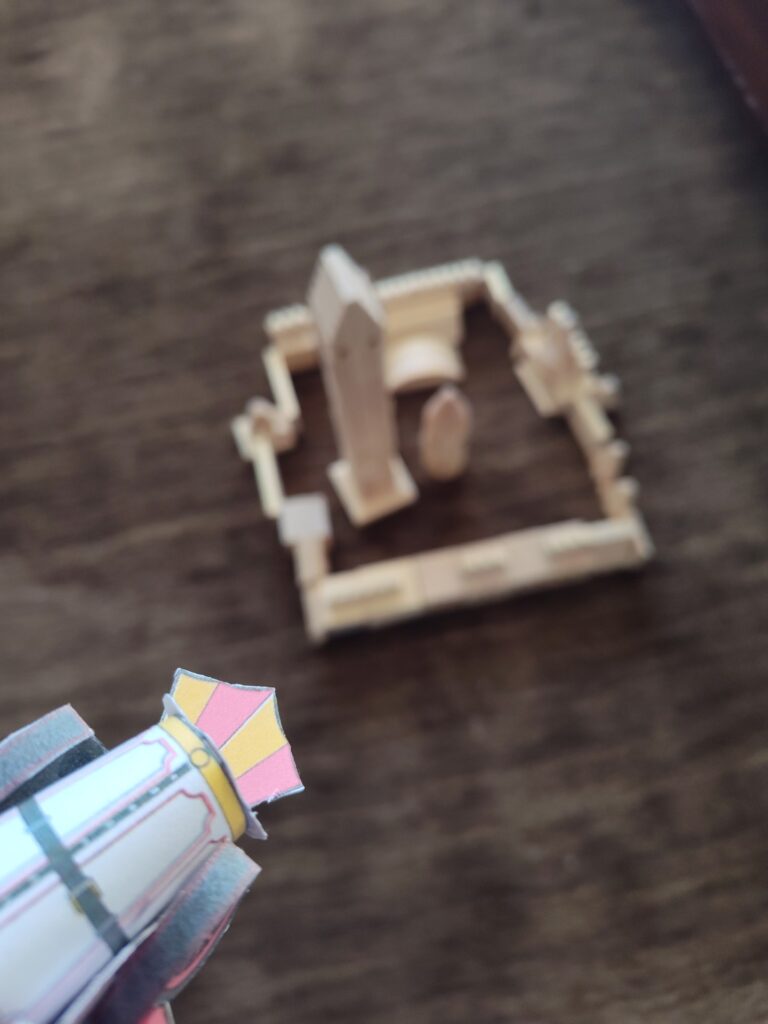
Now, Chitty Chitty Bang Bang has reached her destination—and so have I. This project is finished! I’m going to take a moment to slow down, smell the roses of success, and enjoy what I’ve built before diving into my next adventure. And yes, there WILL be a next project… so stay tuned!
Want to build your own Chitty Chitty Bang Bang?
I found this amazing cut-out model on Papertoys.com, and after building it myself, I want to share it with anyone who loves Chitty Chitty Bang Bang as much as I do! You can find the printable model Chitty Bang Bang Model Car – Free Printable Paper Template. Huge thanks to Papertoys.com for making this available—be sure to check out their other cool models too!