After our last attempt didn’t go quite as planned, we tried again—this time with superglue and toothpicks. And guess what? It worked! It didn’t fit perfectly, but we did it. The body is now attached to the chassis, and Chitty Chitty Bang Bang is really starting to take shape.
This time, we skipped the weaker glues and went straight for superglue. My biggest tip if you try this: make sure you don’t get it on the table, and have rubbing alcohol ready for when your dad gets it all over his hands! (Which definitely happened.) We started by attaching the body to the chassis first, carefully holding down the tiny tabs with toothpicks while the glue set.
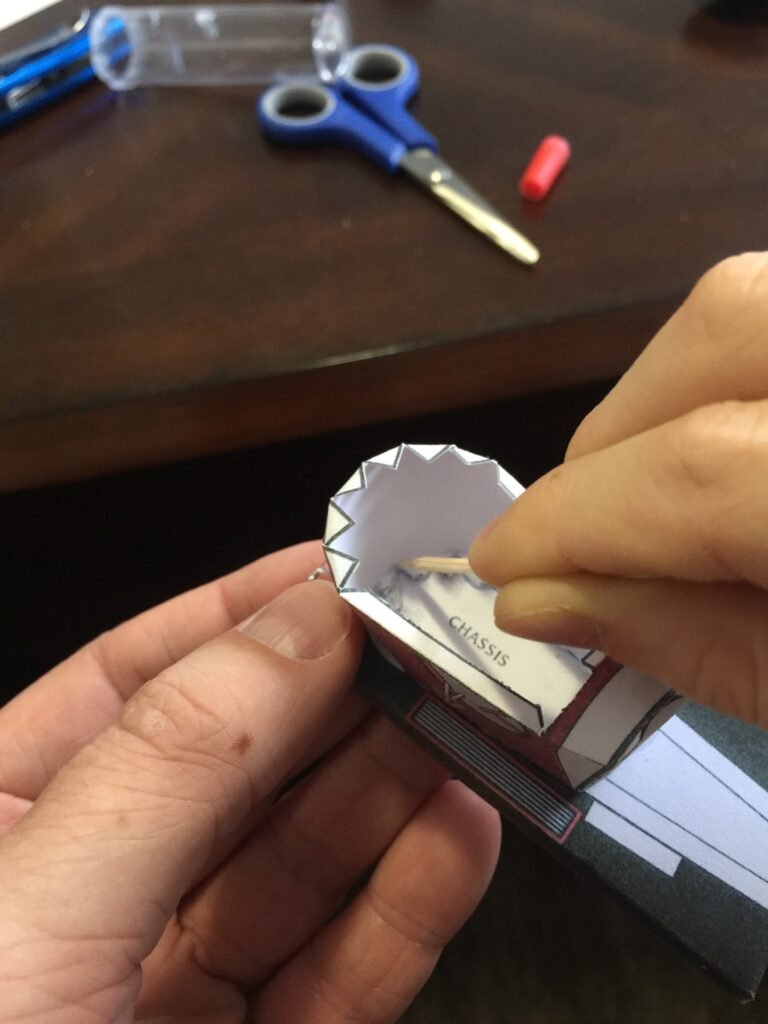
Next, I cut out the bonnet. I did most of it myself, though I needed a little help with the tricky bits again. We folded it, glued it on using our trusty superglue and toothpicks method, and then had to pause while my daddy got his hands unstuck from his fingers… and the car.
The seats and windscreen were the hardest part. The passenger side went on okay, but when we tried to attach the driver’s side, the tabs were being difficult. We had to use toothpicks again to carefully unfold them enough to attach them without wrecking the passenger side. After that, we cut out and attached the radiator, and at last, this stage was finished—with the body, bonnet, radiator, seats, and windscreen all attached!
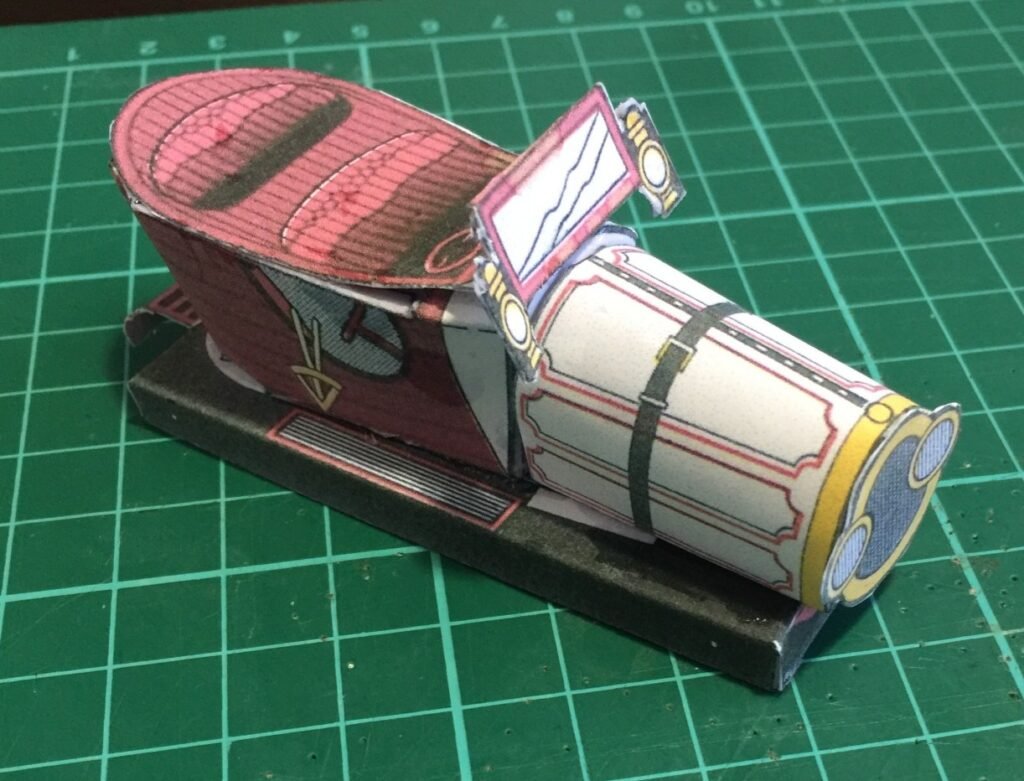
It doesn’t look perfect, but when you look at it from a certain angle, you can hardly see the problems. It actually reminds me of the way Chitty leans when she turns a corner in the movie! Just like Mr. Potts’ inventions, even when they work brilliantly, they don’t always turn out exactly as planned. But that’s okay—because Chitty Chitty Bang Bang is coming together! It’s taking a while, but it won’t take a month of Sundays before it’s finished!
Stay tuned—there’s more to come!