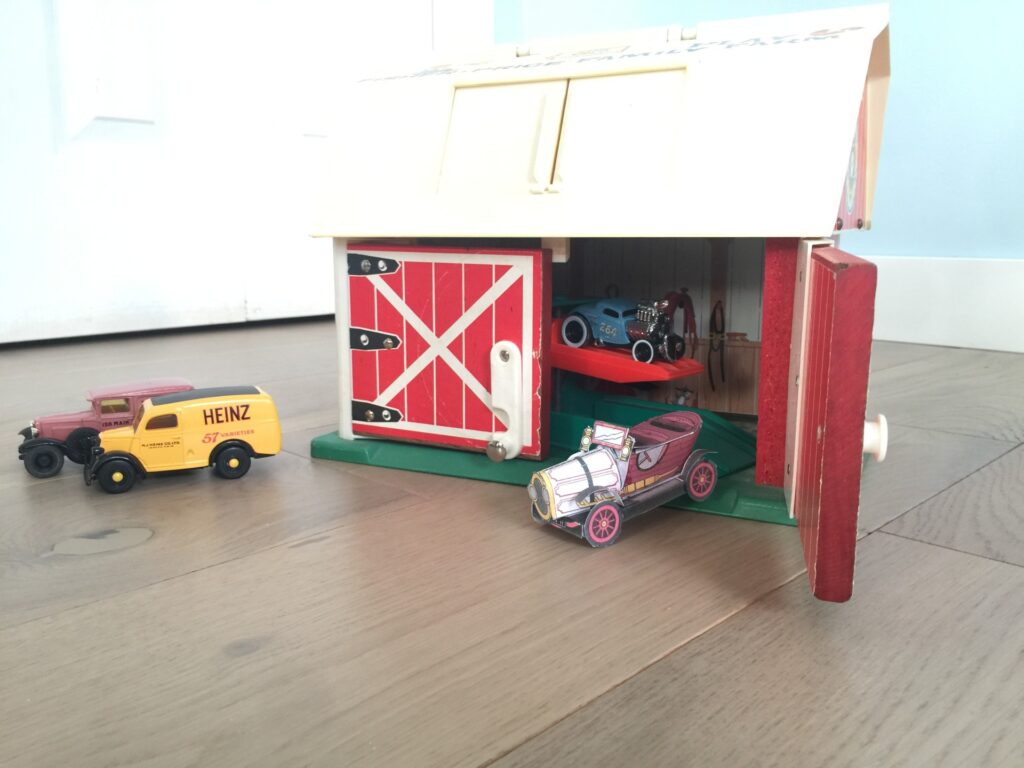
Chitty Chitty Bang Bang is almost ready to hit the road! In this stage, we worked on adding some important details—the spare tire, the horn, the mudguards, and the wheels. But, like any good inventor, we ran into a few surprises along the way!
We started by cutting out the spare tire and horn and sticking them onto the chassis, just beside the bonnet. This part was really fiddly, so my dad cut it out with a knife while I got ready for the next step.
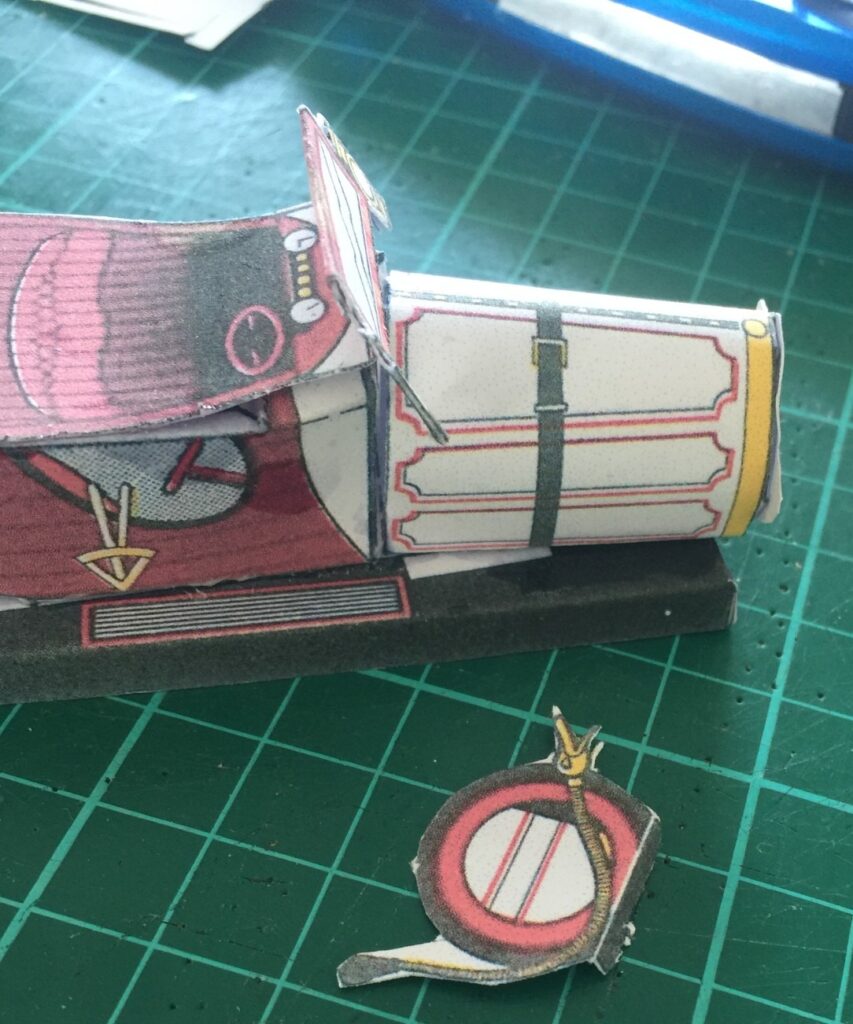
Next, we had to cut out the mudguards. As you can see in the photo below, they looked very straight at first. But do you see the dotted lines? We didn’t! At least, not until we had almost finished cutting them out. The instructions never mentioned them, but we realized they were there to show us where to fold.
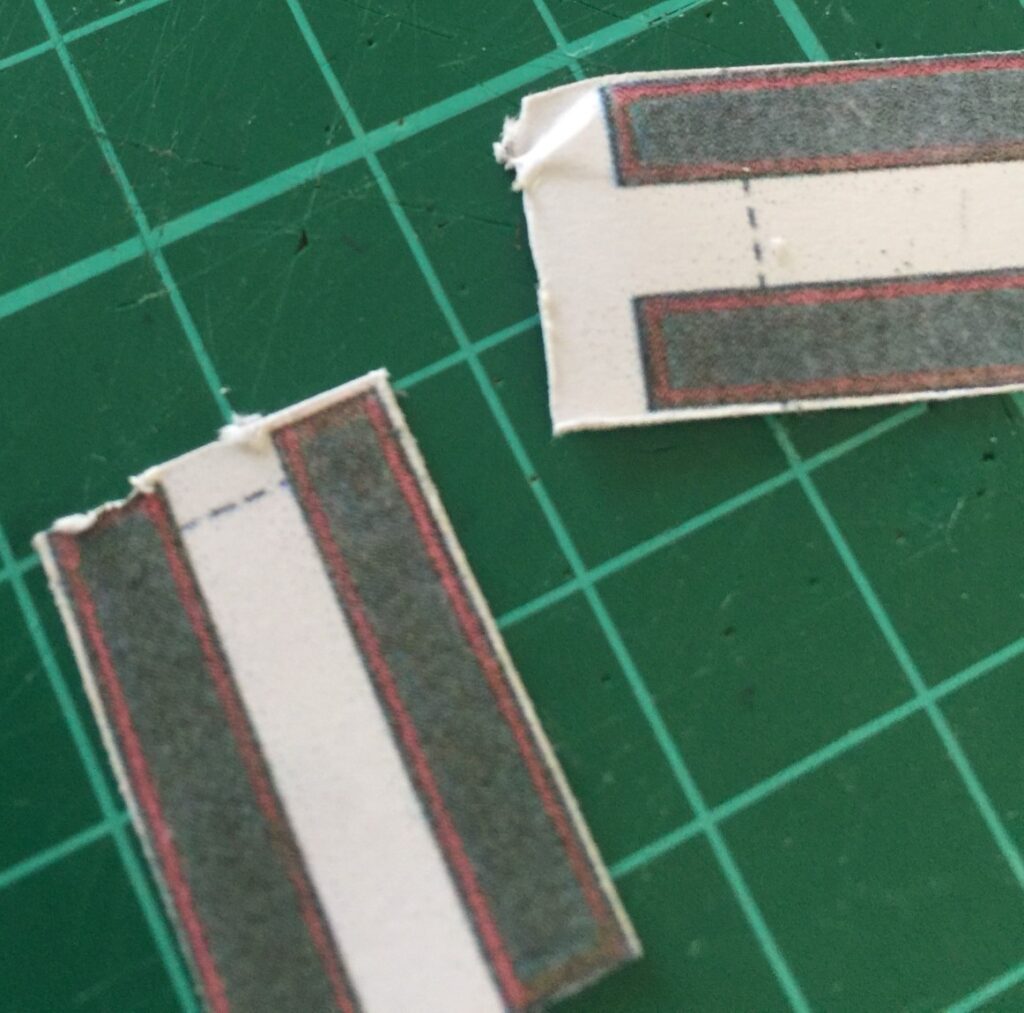
I tried cutting the mudguards with a knife and safety ruler, but the knife kept slipping and getting stuck, which made the edges a bit raggedy. So, we switched to scissors, which worked much better.
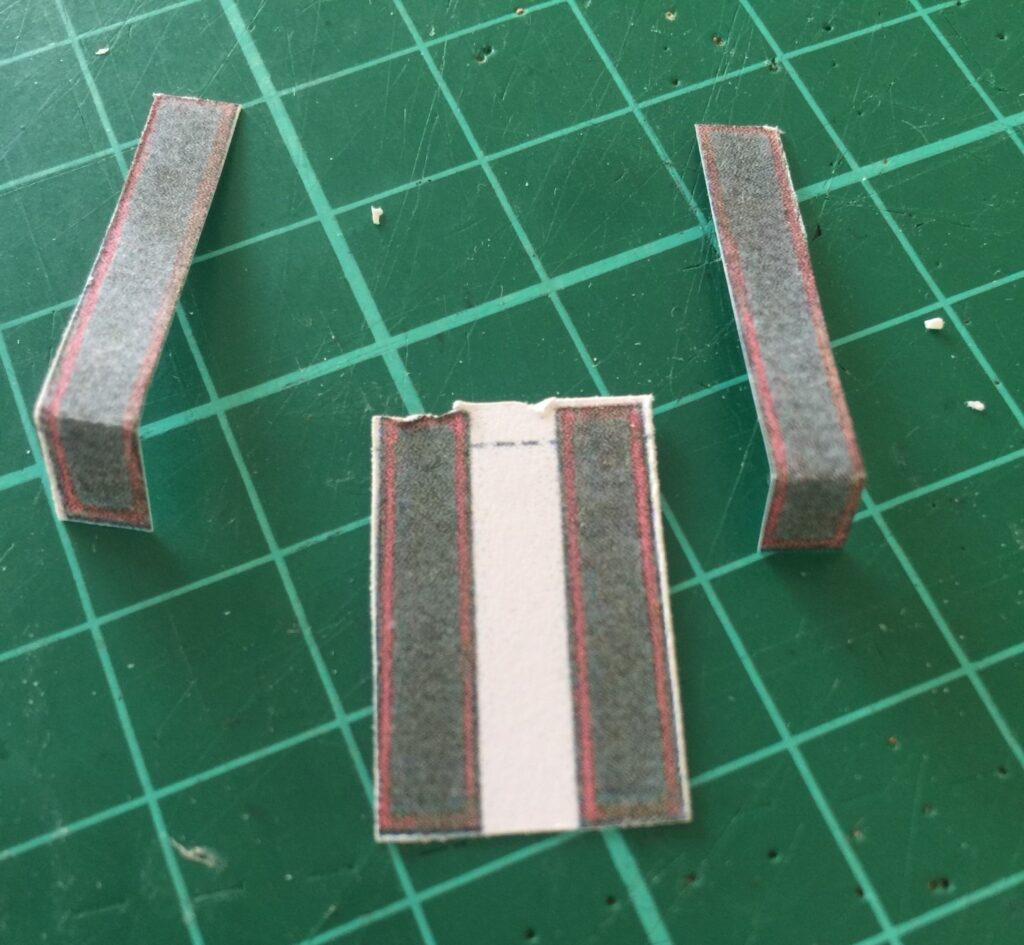
Once we knew about the dotted lines, we folded the mudguards correctly before curling them into shape. The back mudguards needed a tighter curl, so I wrapped them around my finger, while the front mudguards had a gentler curve, which we shaped using my dad’s fingernails before attaching them to the running boards.
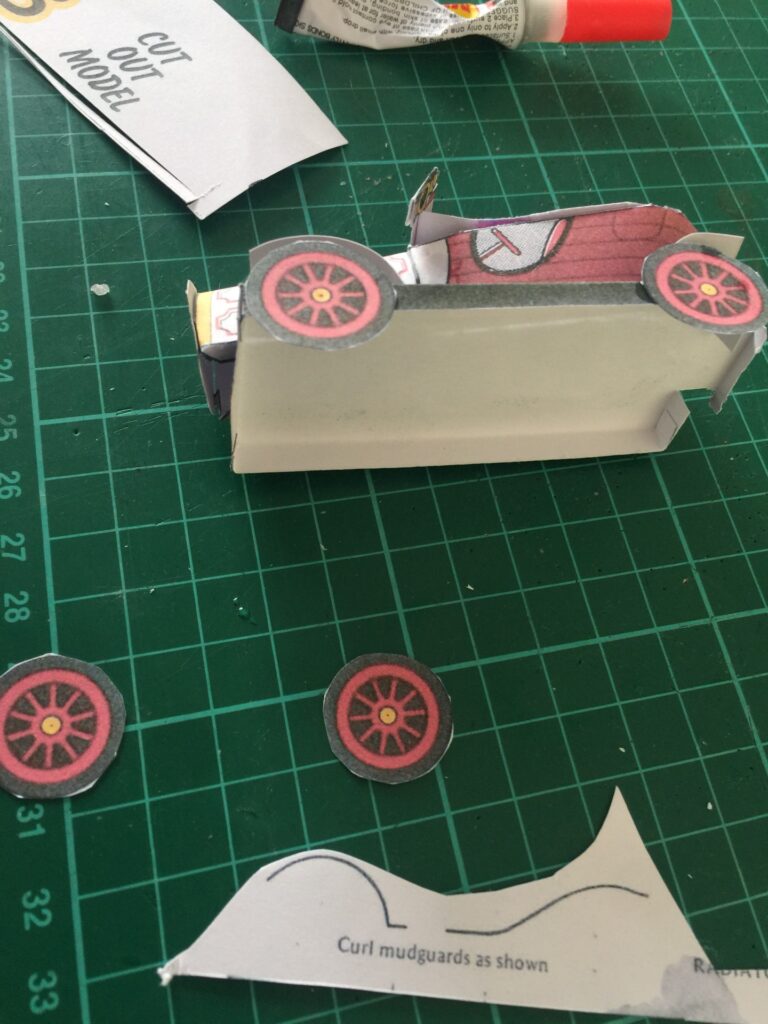
Finally, we cut out all four wheels and stuck two on first, letting them dry before switching sides. Chitty is finally standing on her own wheels!
Now, there’s only one thing left to do—the wings! These will make Chitty Chitty Bang Bang look truly magical. But even without them, she’s ready to roll out of Mr. Potts’ garage and into the world as a real car. Stay tuned—next time, we add the finishing touches!
